Paper toys, arte en papel y objetos coleccionables para creativos y futuros genios.

Tutorial for Assembling, Folding and Gluing the Gentleman Cat template
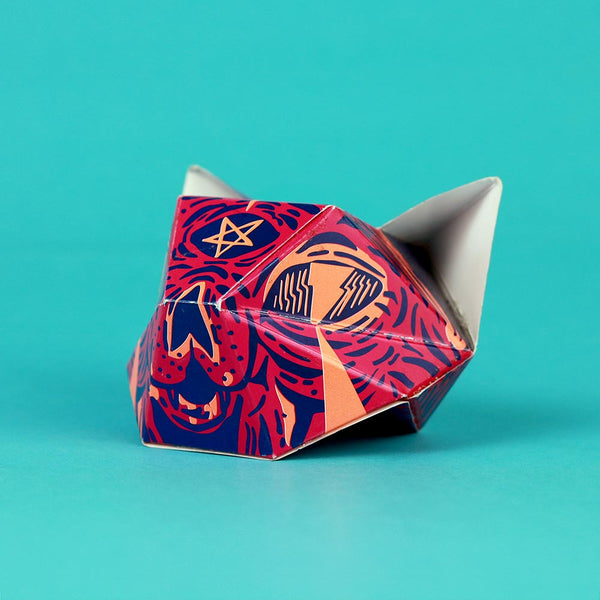
In this assembly, folding, and gluing tutorial, I'll guide you through the steps to put together the Gentleman Cat series template, a fun and creative project that will result in a beautiful 3D figure. If you're a cat lover and enjoy crafts, this tutorial is perfect for you!
Today, we're going to dive into the world of Gentleman Cat and learn how to assemble this charming figure. Before you begin, make sure you have all the necessary materials within reach. The materials you'll need are: the printed Gentleman Cat template, glue, and a clean working surface.
Please note that the video is sped up 2x and drying times are sped up 7x, so drying times are around 10 to 20 seconds for the glue to set firmly.
If you want to assemble your own Gentleman Cat, you can get the kit here:
👉View Gentleman Cat Series
Step 1: We start by carefully folding the creases of the template. Follow the lines precisely to ensure that everything fits together perfectly during assembly.
Step 2: Now, we will fold the pieces following the marks indicated on the template. It's important to make clean and precise folds to achieve an optimal result.
Step 3: It's time to glue the pieces. Use glue evenly and carefully so that Gentleman Cat takes shape.
Step 4: After gluing all the pieces, let them dry for an adequate amount of time to ensure they are firmly attached.
And there you have it, your very own 3D Gentleman Cat. Watch it come to life! If you liked this assembly, folding, and gluing tutorial, don't forget to like it and subscribe for more original craft projects. If you have any questions, leave them in the comments. Thanks for joining us on this exciting creative journey. I hope you enjoy your Gentleman Cat! Until next time. I hope this text is useful for your video tutorial. Good luck!