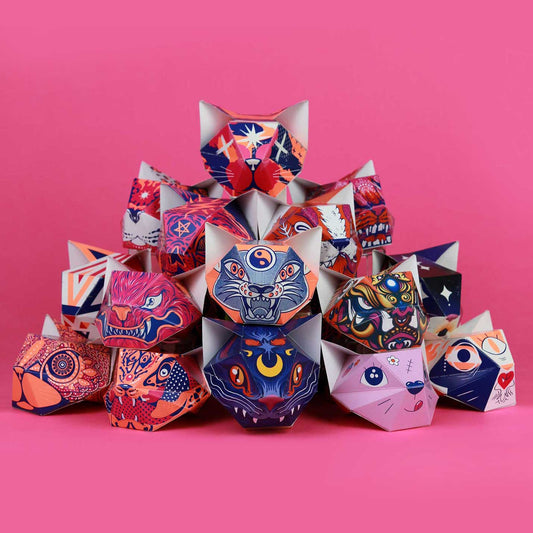
PAPER TOYS, PAPER ART, AND ORIGINAL DESIGN OBJECTS MADE IN CHILE FOR CREATIVES AND FUTURE GENIUSES.

How to Assemble Proyecto Ensamble Figures
For everyone who has asked, here is the assembly guide. Follow the techniques below and you’ll become a paper-figure assembly pro!
On the Proyecto Ensamble templates, you’ll find matching numbers on the front and back. Match each number with its counterpart on the opposite side to assemble the figure without difficulty.
We recommend using liquid silicone glue. It dries slowly enough to let you make adjustments, and it dries clear (the neatness of the final result depends on your technique). To avoid extreme frustration—or the humiliation of feeling hopeless at crafts—do not use white school glue, which can warp the paper. We also don’t recommend glue sticks such as Stick-fix, as they may not provide a strong enough bond.
You’ll have hours of fun!
Not only while assembling your complete set, but afterward, too.
You’ll be able to admire it and handle it to your heart’s content!
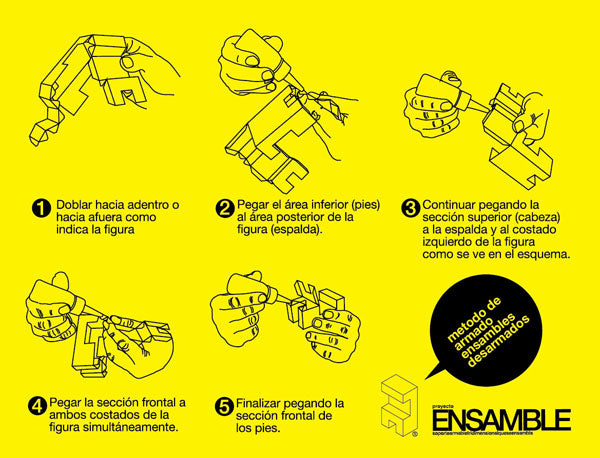
Below you’ll find the diagram and folding video for the figures. We planned to add more visual guidance to make gluing easier. Here’s how to assemble them:
- Fold inward or outward as indicated in the diagram.
- Glue the bottom section (the feet) to the back of the figure.
- Continue by gluing the upper section (the head) to the back and the figure’s left side.
- Glue the upper front section to both sides of the figure at the same time, inserting the tabs.
- Finish by gluing the lower front section.